Case Studies: How It's Done
"The Lost City"
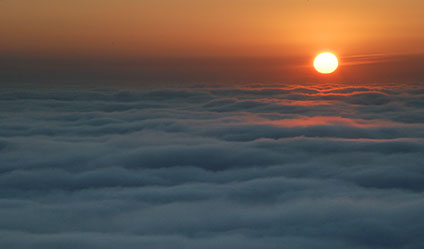
"The idea for 'The Lost City' came to me several years ago, when I was on an early morning hike in the mountains of Griffith Park in Los Angeles, California. It was a Thanksgiving morning and in LA, November is sometimes foggy. I had climbed to an elevation that was just above the fog layer. It was an amazing sight! Ripples of fog stretched out in all directions like a turbulent ocean, and the sun had just risen above the fog layer. Luckily I had brought my 35mm camera with me and I took photographs.”
— Brad Fraunfelter
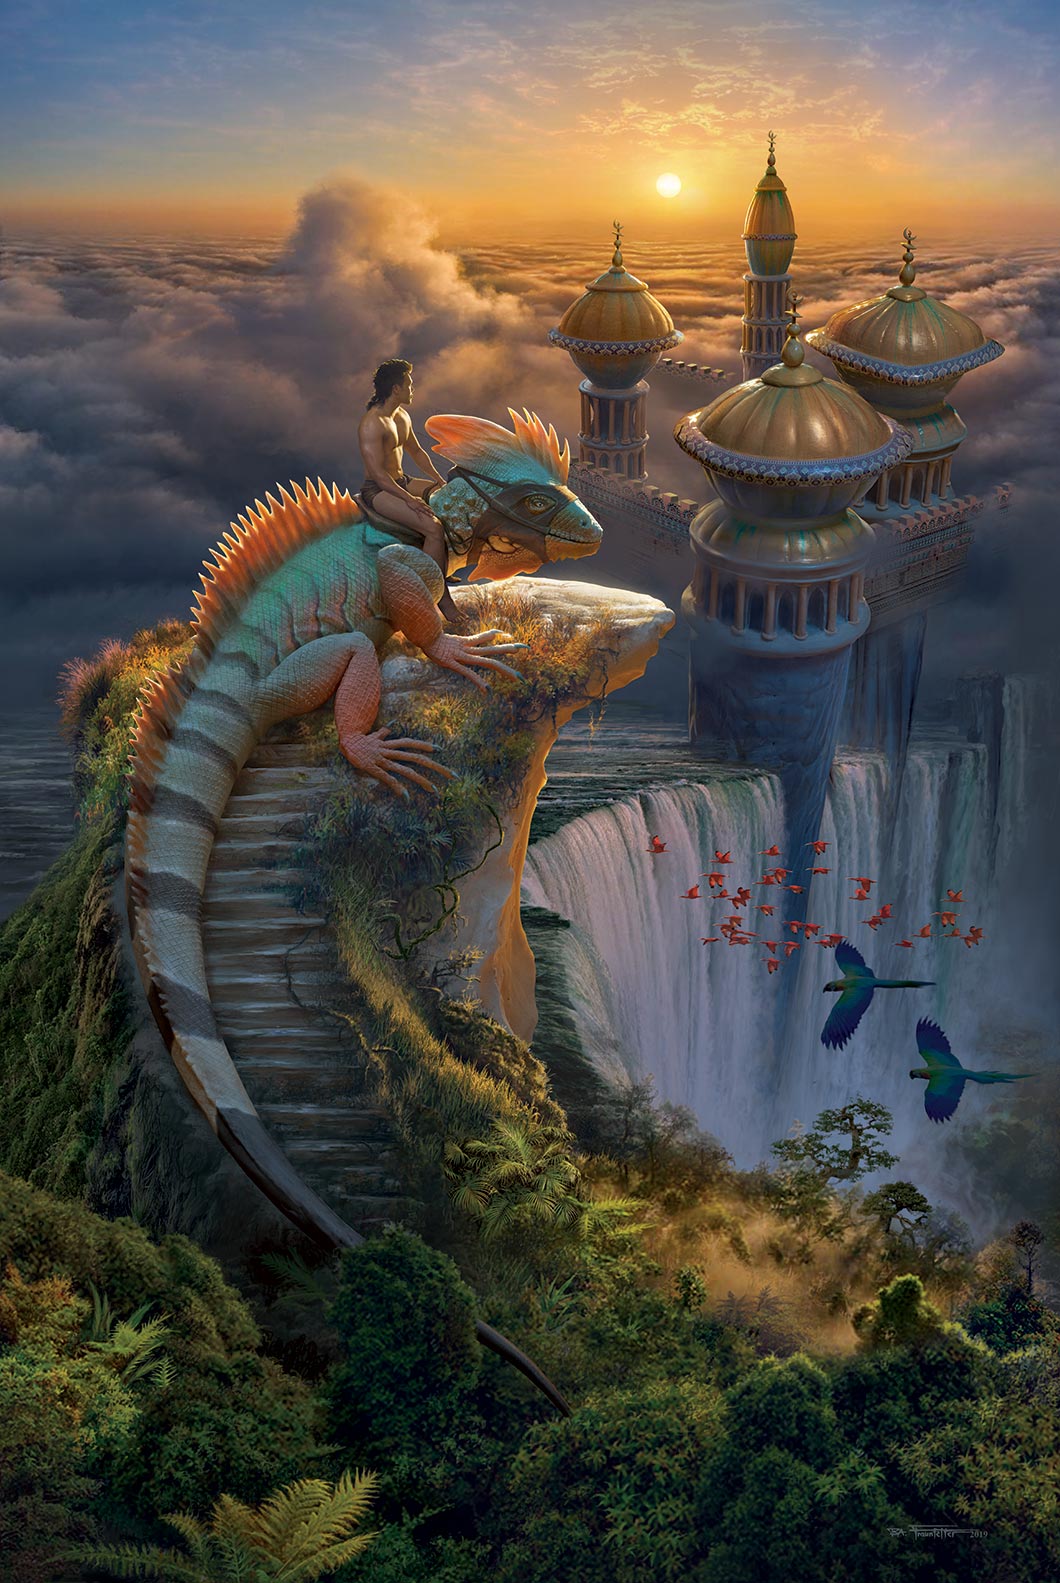
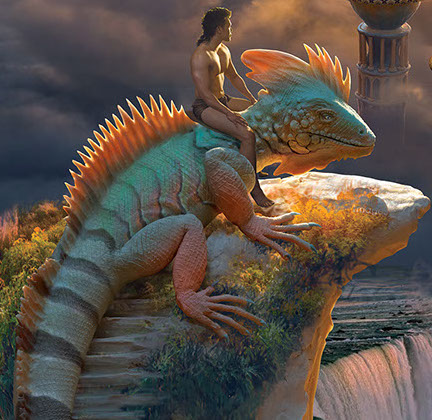
From this collection of photographs Brad got the idea to do a painting of a scene, with the towers of gleaming, domed buildings rising up out of the fog and catching the light of the sun. A lone warrior on the back of a huge lizard would be witnessing the spectacle from a jungle overlook. Brad titled the work “The Lost City”.
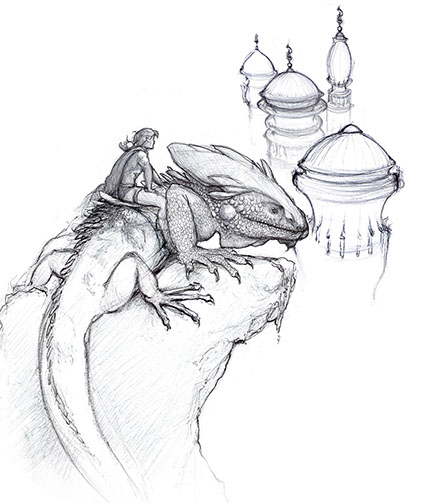
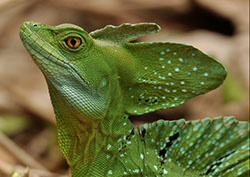
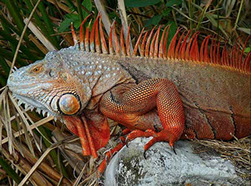
Brad started with concept sketches to develop the idea, and to design the rough look of the architecture and the body structure of the animal. He wanted the lizard to look like an exotic creature similar to the the type of brilliantly colored species seen in tropical rain forests. He had previously owned a pet green iguana and decided to design the body with similar characteristics, but also to create a colorful crest on the head similar to that of a Basilisk.

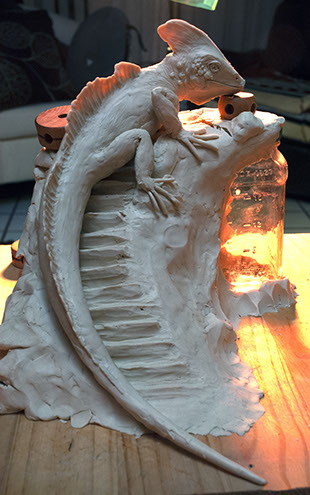
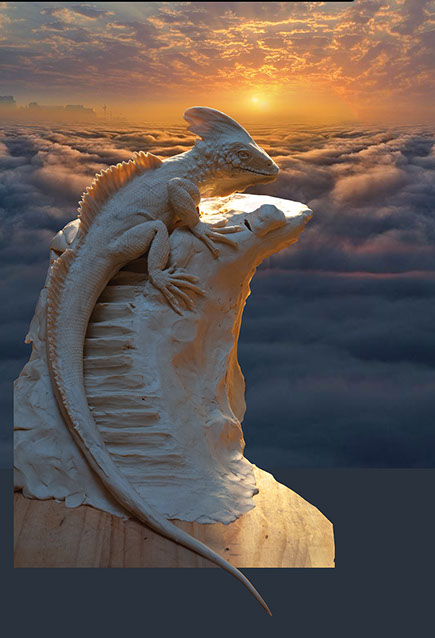
To ensure the creature looked as realistic as possible Brad did a highly detailed sculpture of the lizard creature in clay. The claws, tiny bumps in the skin, and scales were carefully added one by one with tiny pieces of clay, and the scales were added by scratching them one by one into the clay using an Exacto knife.
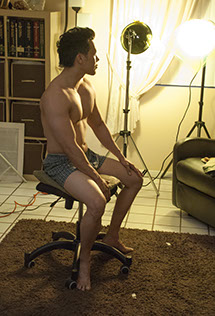
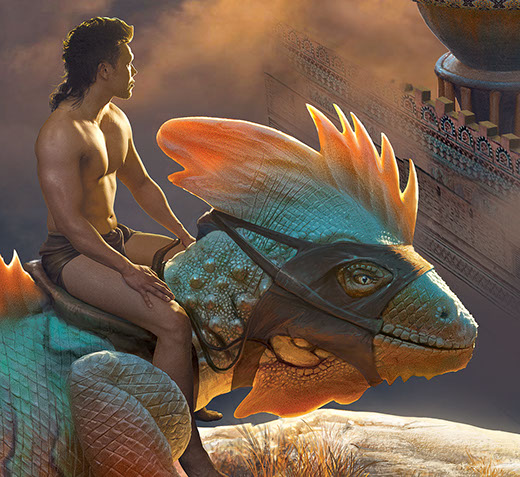
Brad asked one of his co-workers to model as the “dragon rider” character. He then photographed the model in a similar lighting set up to the clay lizard sculpture.
He then photographed the sculpture in a studio lighting set up with a high intensity backlight to simulate the glaring amber light of the rising sun. Brad used a blue gelled fill light bounced off the ceiling to simulate the diffuse light of the open sky above. A yellow gell was used over the main light to simulate the golden light of the rising sun, while the frontal main light was a very diffused light covered with a blue gel.
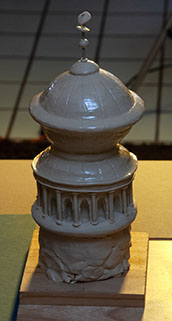
After researching many architectural images of domed buildings (from the Taj Mahal to the palace of Jabba the Hutt in "Star Wars") Brad did a rough design for the city to be shown jutting through the clouds. He then did two additional sculptures of two domed buildings.
“I wanted the rooftops to look like gleaming gold so I brushed oil over the clay to give them a sheen. The clay models were then photographed and finely edited in the computer to clean them up, remove rough spots, and to straighten the columns and refine detail."

Stages of Progress
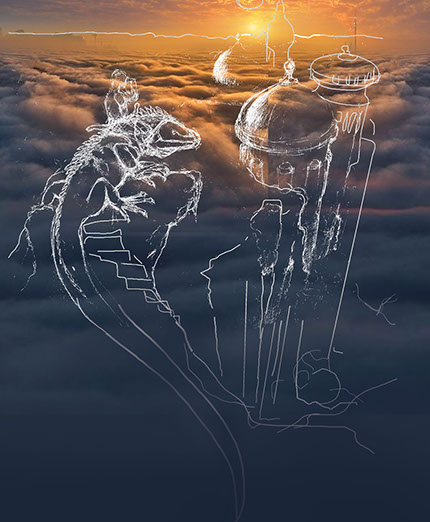
Stage 1: Using his original landscape photo of the sun rising above a layer of fog, and other reference images of sunrises Brad painted in the rough background sky. A rough sketch was overlaid to get an idea of the format and composition.
Stage 2: Then, the 35mm photograph of the lizard sculpture was overlaid onto the background painting. First the photo was edited to erase parts of the armature supporting the head, and to smooth and refine rough spots. The liquefy tools in Photoshop were used to refine and perfect the shape of the legs, tail and claws.
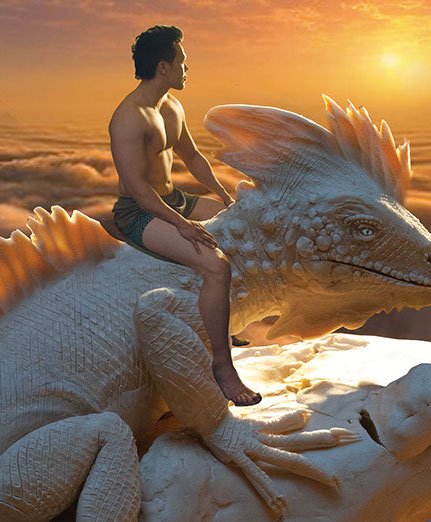
Stage 3: The photograph of the male model was pasted into the image, and carefully manipulated to make it look as if he was sitting on the neck of the lizard. The model’s legs
were quite short so Brad lengthened them in the computer to look more natural. Additional details were painted in such as the spines on the lizard’s forehead.
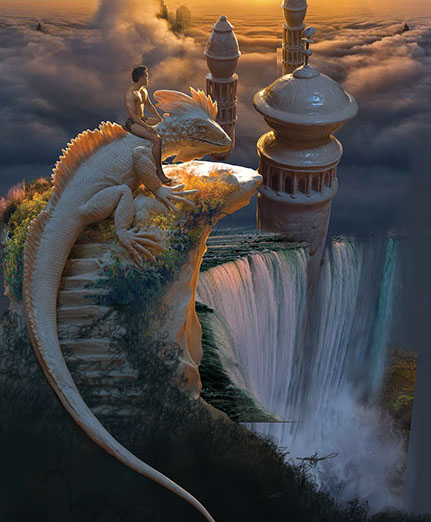
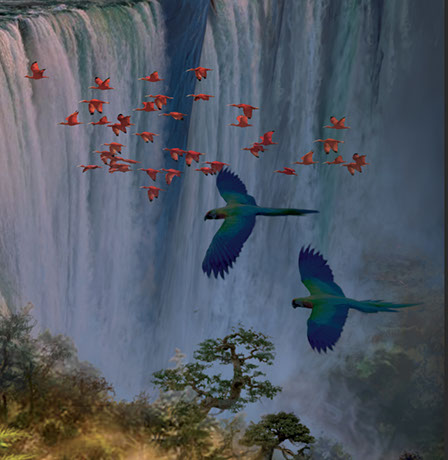
Stage 4: The waterfall was then painted into the image, and the photographs of the domed buildings were roughly placed. The slender building was duplicated and stretched to create a spire. Each of the two clay building models were photographed multiple times to orient the light source into the correct position that would match with the position of the sun for each building position in the illustration. The vegetation of the jungle overlook was roughed into place
Stage 5: All fine details were then digitally painted into the image: The rider’s hair was lengthened and the loin cloth was painted in to replace the shorts the model had been wearing for the photo shoot.
The spines on the lizard’s back were lengthened and sharpened using the liquefy filter. The color on the spines and head crest were intensified and saturated to a more brilliant orange, and the animal’s body was colored with stripes down through the full length of the tail by using the selection tools in Photoshop, feathering the edges and applying various color to each of the selections.
To make the buildings look weathered, and ancient Brad applied rust stains to the rooftops. Using the warping function in the transformation controls the stains could be curved to look like they trailed down over the arched rooftops.
To make the buildings look more ornate, Brad researched Indian textile patterns, and then copied and duplicated one of the patterns to make a horizontal strip. Then this was applied to the outside trim of the architecture, just below the dome, and then warped to make it look like it followed around the curved contour of the building’s edge.
Finally, very fine details were painted into the rider and the lizard’s head. Tiny scales and raised bumps were added to the lizard’s face. The saddle and reins were painted into place, and a leather head harness was painted over the lizard’s snout.
All minute details were added to the vegetation to make it look like a jungle. Vines were painted in around the staircase and hanging over the sides of the lookout, each step of the staircase was refined, and leaf detail and ferns were added to the jungle.
As a finishing touch brightly colored parrots, and a flock of flamingo-like birds were added to the lower portion of the painting.


Copyright © 2000 - 2023 Brad Fraunfelter except where noted for purchased artwork. Re-use of artwork displayed on this site for any purpose is prohibited unless permission is granted in writing by the artist and/or copyright holder. Please contact 323.240.5744 or use our contact form to request permission, purchase or to license artwork. Site design and maintenance by www.DesignStrategies.com.